iPad Control Using Marklin's Main Station App
Click on the back arrow to return to the Main Menu
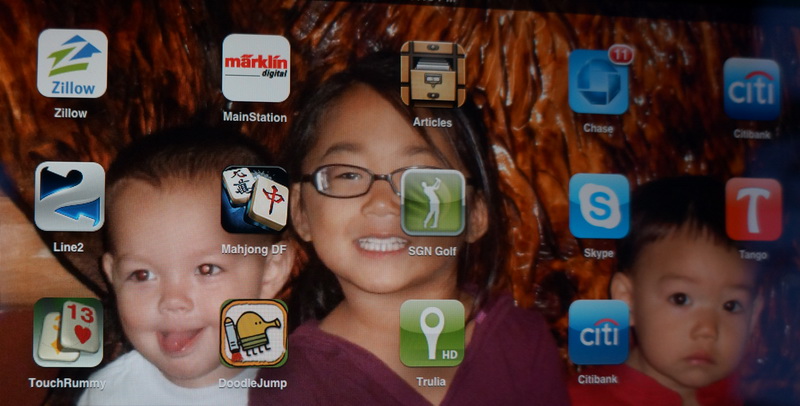
The apps screen on the iPad. Main Station is the Marklin app for controlling a layout that is using a Central Station. It is a fantastic way to contol your layout. It is more versatile than the Central Station with its ability to directly control more than two loks and mobility since it has a wireless connection to the CS. You can walk around your layout with the iPad in your hand. You can also leave the room and still control your layout with the iPad but I would not try it unless you have a video surviellance camera focused on your layout that you can see. With Main Station you can control eight loks directly or any combination of loks, keyboard, layout, memory. There are four different control screens or quarter screens. Screen combinations are seen below.
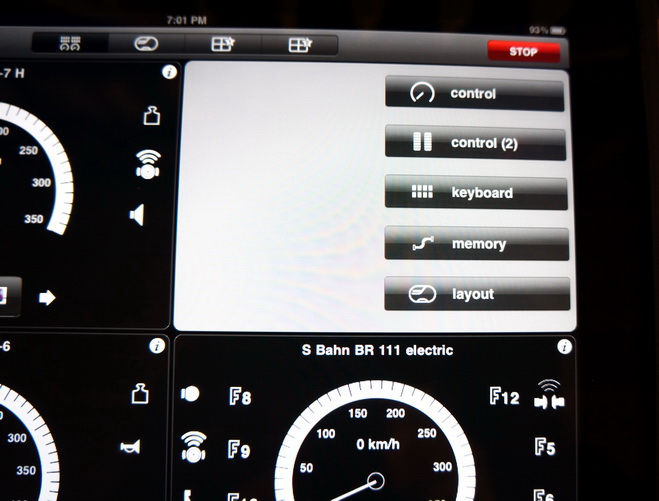
Each "box" or quarter of the screen has a circle with an "i" in it. When you touch this circle the screen in the quarter rotates and a new screen appears, the screen above. This screen allows you to select what view you want to have in that quarter. You can choose different views for each quarter as you will see in the pictures below. The screen is self-explanatory with five choices. The control is for one lok. Control (2) allows you to control two loks in that quarter but with a different view. Keyboard, memory and layout are just what you would see on the Central Station.
The screen is divided into four quarters. This screen shows two control and two keyboard screens. Note the icons for lok functions. Since the iPad is strickly screen sensitive you simply touch the screens to use these controls. In the picture below you will see the options available for each quarter.
The right hand panel shows the list of loks that I have stored in the stored information on my Central Station. I like the fact that you can see the mfsx addresses for each lok. Clicking on the ion will place that lok in the panel.
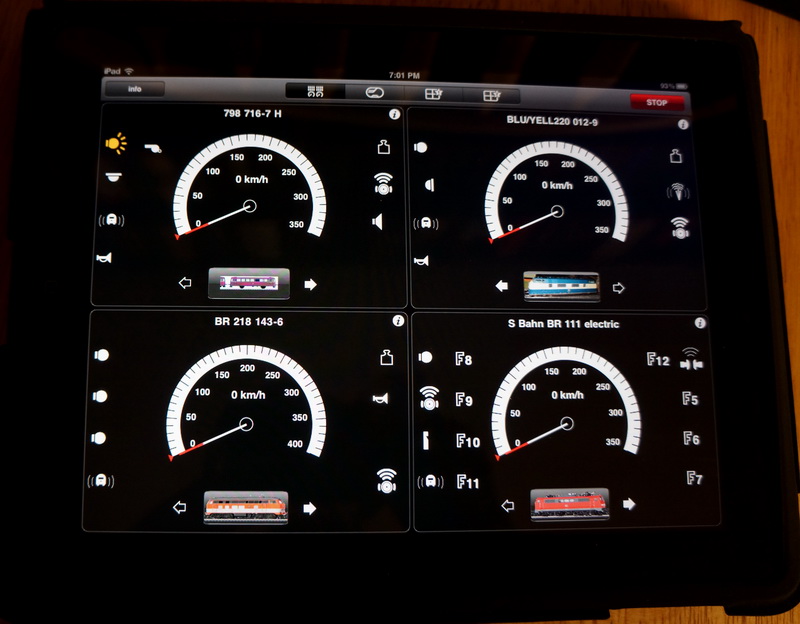
This picture shows the iPad screen with four control units which would allow the direct control of four loks. Note the lok icons and lok names as well as the functions for each. If touch the lok icon you can change loks. The arrows to the right and left of the lok icon control direction.
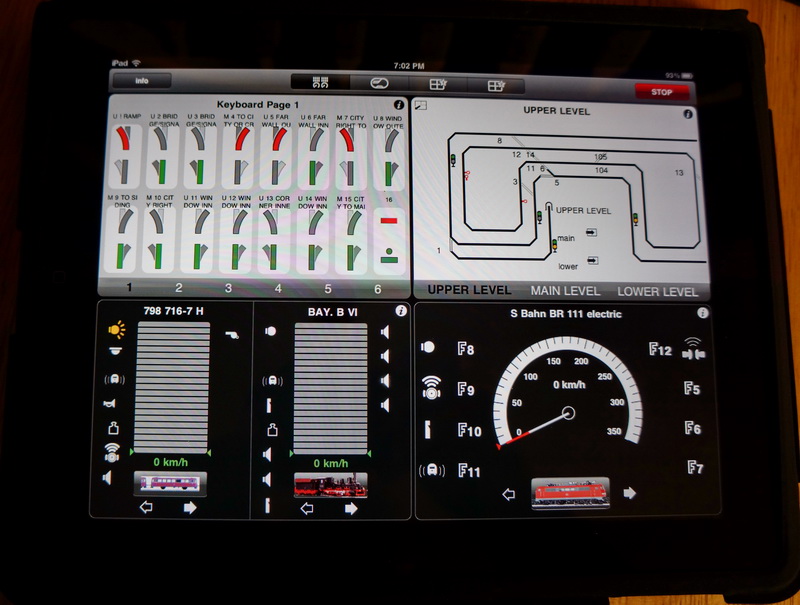
This screen shows for different control functions - keyboard control, layout control, two lok control and single lok control. This is the screen I use most often.
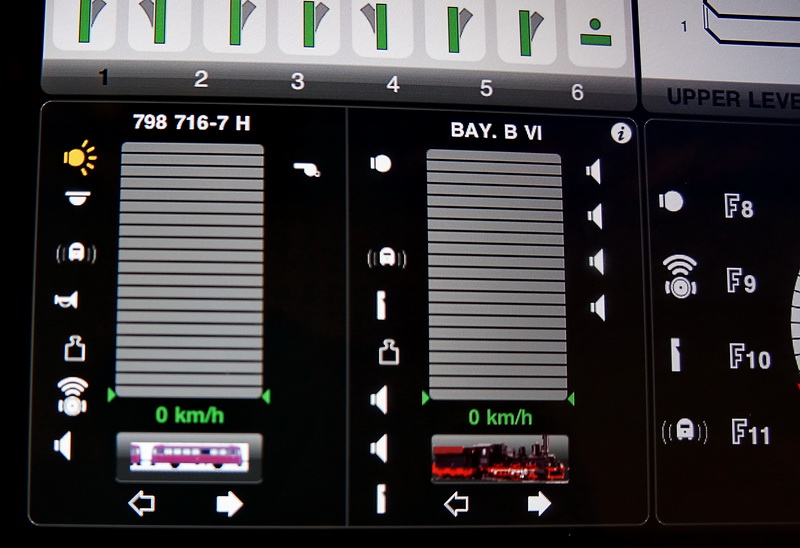
This screen shows the dual lok control panel in one of the four quadrants. You set the speed by sliding your finger upwards on the grey bars. You set the functions by touching them. You can change loks by touching the lok icon. Note the "i" in the circle which allows you to change the panel to another control function.
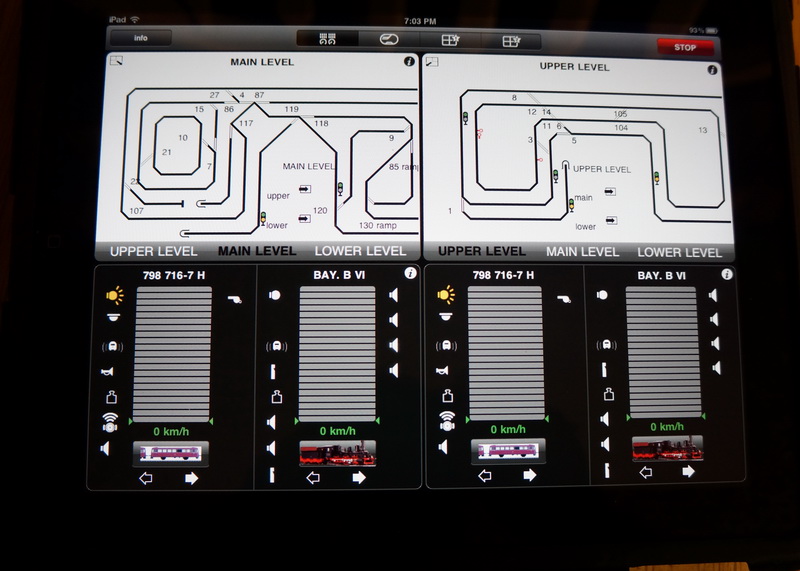
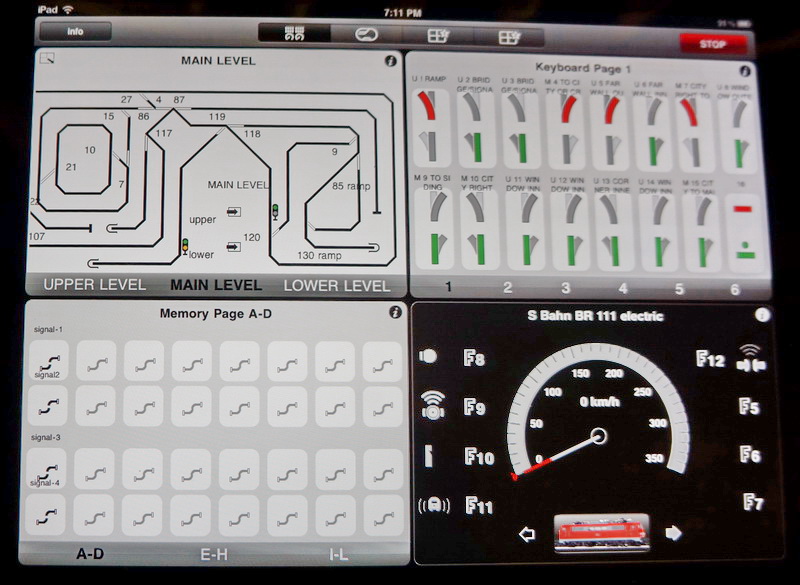
This screen shows two Layout panels and two Control (2) panels. You can slide each layout panel right or left, up or down to see more of the layout.
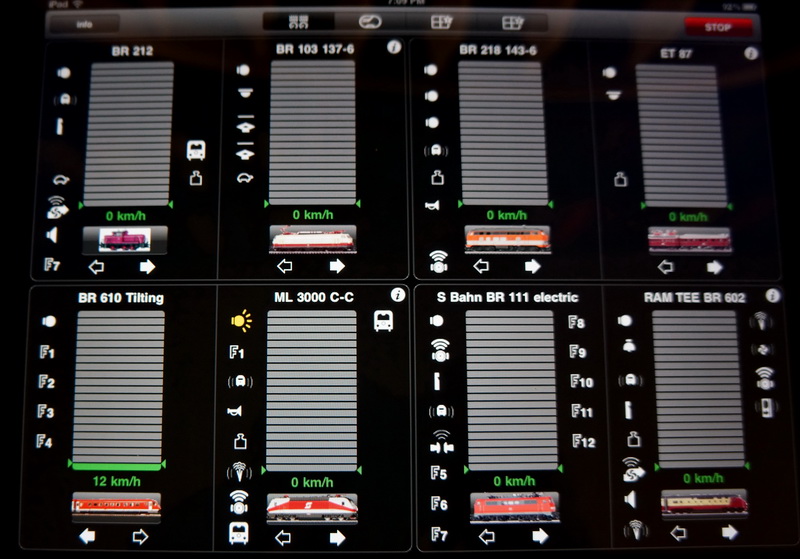
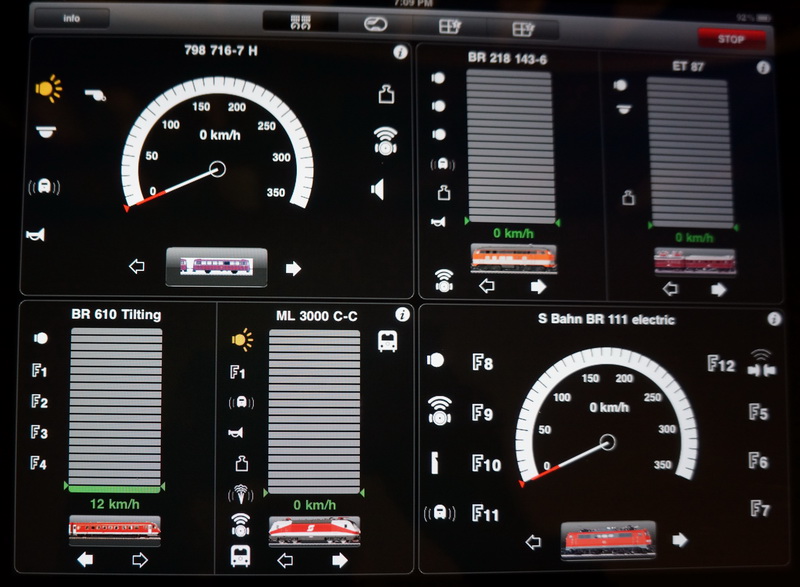
This screen shows four Control (2) panels which allows me to directly control eight different loks and all of their functions. Note in the BR 610 Tilting Lok grey area there is one green bar indicating that the lok is moving and below it shows its speed as 12 km/h.
This screen shows two Control panels and two Control (2) panels which will allow the direct control of six different loks and all of their functions.
This screen shows four different function panels including one for memory.
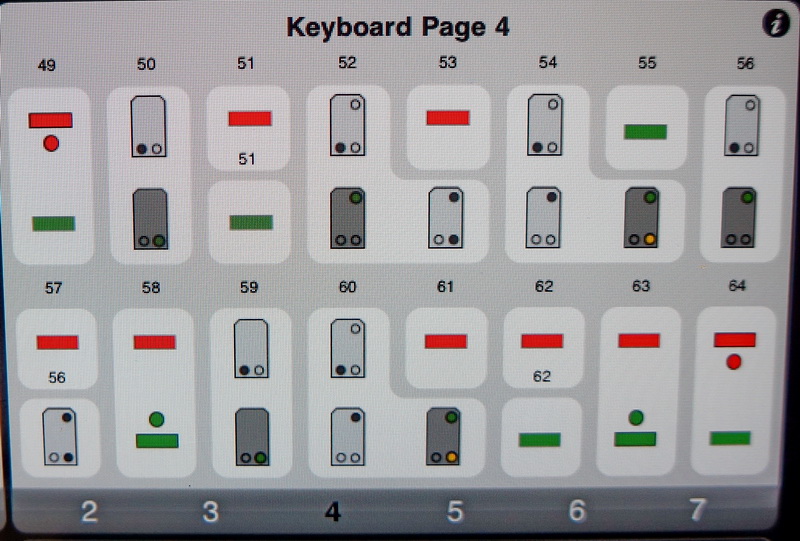
This panel is a Keyboard view showing some of my signals which can be set directly from the iPad by touching the icon for the signal setting or aspect that I want. The red and green bars indicate that no information has been stored for that address. Some Marklin signals require two address settings but may only use the second for one aspect - see 4 and 5.
Click here to return to Home Page.