One of a set of two factory contact tracks - see the notch.
Click on picture to return to description.
The factory track has cuts across the bridge which connects the two outside rails.
Click on picture to return to description.
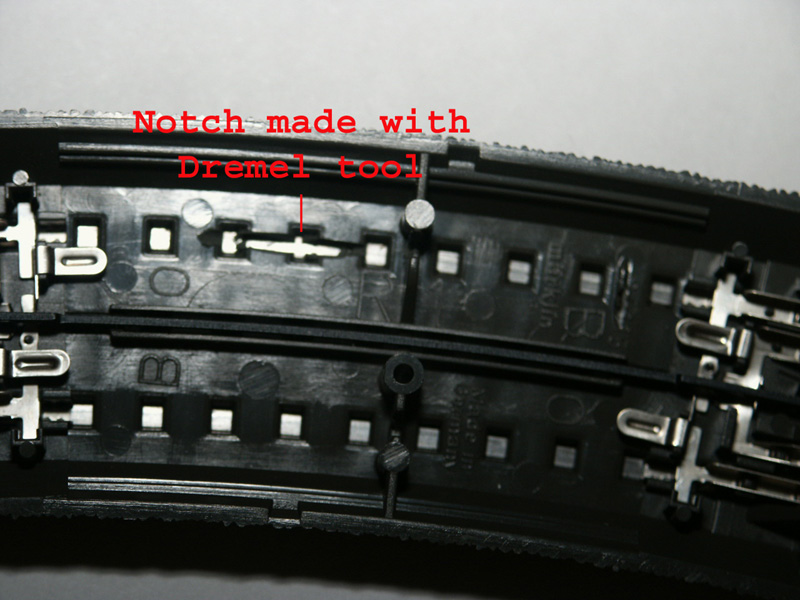
This is the factory track. On the track I made I cut the outside tracks' bridge using a Dremel tool.
A close-up of the cut in the bridge.
Click on picture to return to description.
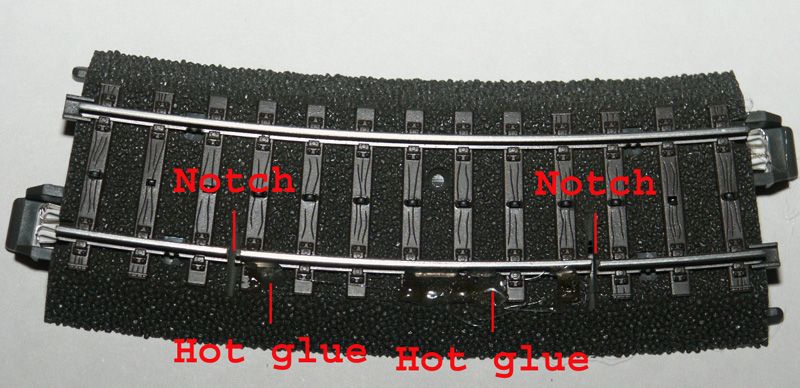
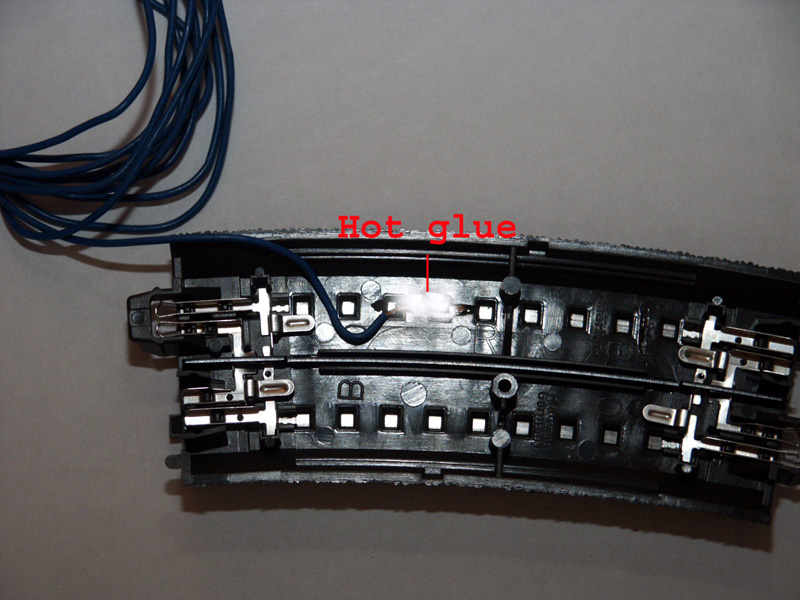
First, I hot glued the two tracks. Then, using a Dremel tool with a disc cutter, I made a notch through the rail and the glue.
Click on picture to return to description.
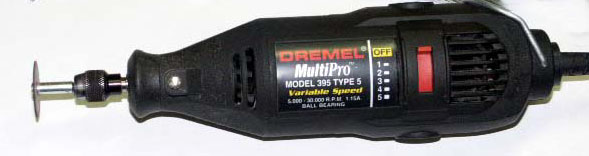
A Dremel Tool is a small rotary device with various types of cutting, grinding, sanding, and burring tools. It is not a drilling machine. It is meant for work on small items. Its speed can be controlled. The sanding/cutting disc which I used is attached.
Click on picture to return to description.
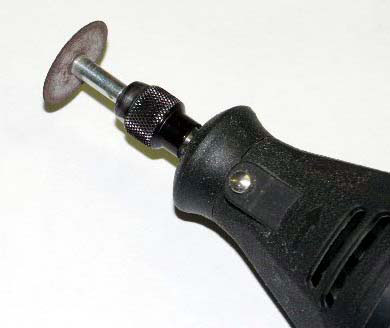
A close-up view of the Dremel Tool and disc.
Click on picture to return to description.
This shows the cut in the bridge.
Click on picture to return to description.
Another view which shows you the cut.
Click on picture to return to description.
You can use a wire with a spade or a plain wire to connect to the contact track and the S88.
Click on picture to return to description.
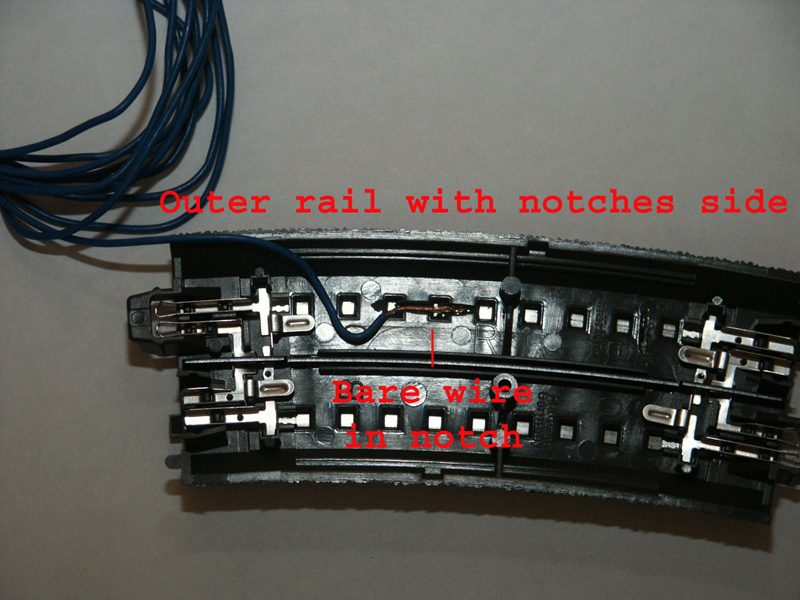
The wire with the spade or the bare wire must be connected to the outside rail connector on the side with the notches.
Click on picture to return to description.
I use bare wire which I pass up through the space between the outside rail connector tongue and the plastic track bed. When you connect the second track to this one, the wire is secured.
Click on picture to return to description.
A view of the bare wire from the underside of the track.
Click on picture to return to description.
A detailed view.
Click on picture to return to description.
This shows the protruding wire after connecting the two tracks.
Click on picture to return to description.
I bend the wire down and trim it if it is too long.
Click on picture to return to description.
This is a contact track that I made using a single 1/2 length C track. You can do the same for any curved or straight C track lengths.
Click on picture to return to description.
This shows the notch I made on the underside of the track between two of the square openings.
Click on picture to return to description.
I push a the bare end of a wire into this slot or notch.
Click on picture to return to description.
I hot glue this wire to ensure continued conductivity to an S88. You should test this wire as well as the isolation between the two notches
Click on picture to return to description.
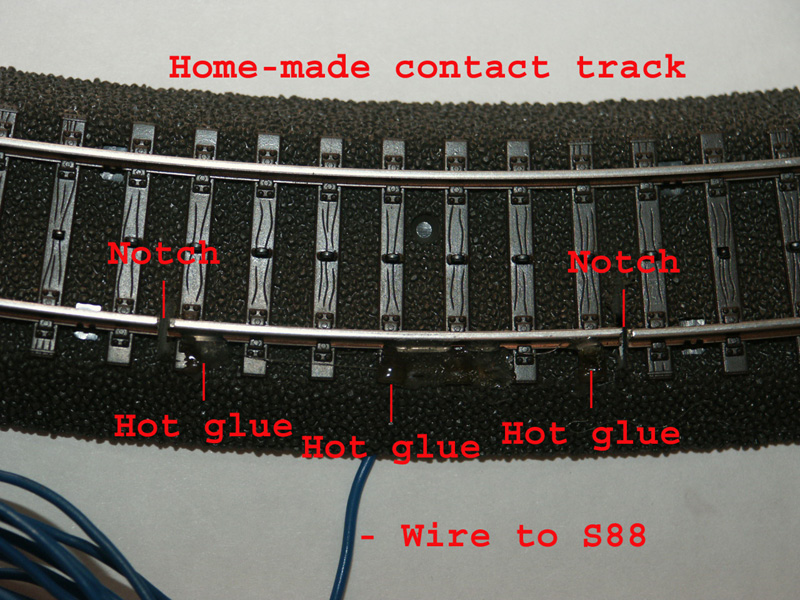
The finished contact track.
Click on picture to return to description.