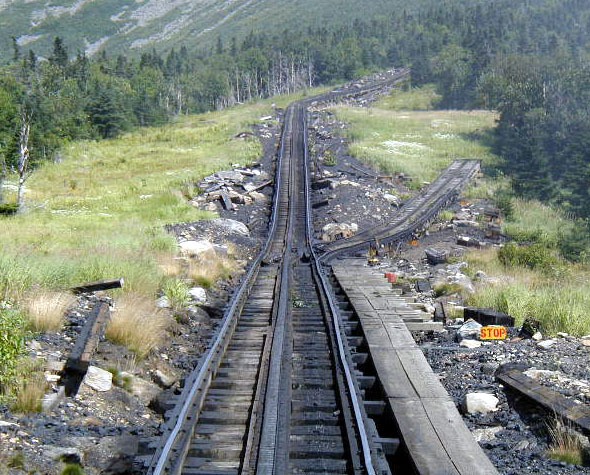
A Mount Washington Cog Railway switch.
Click on picture to return to description.
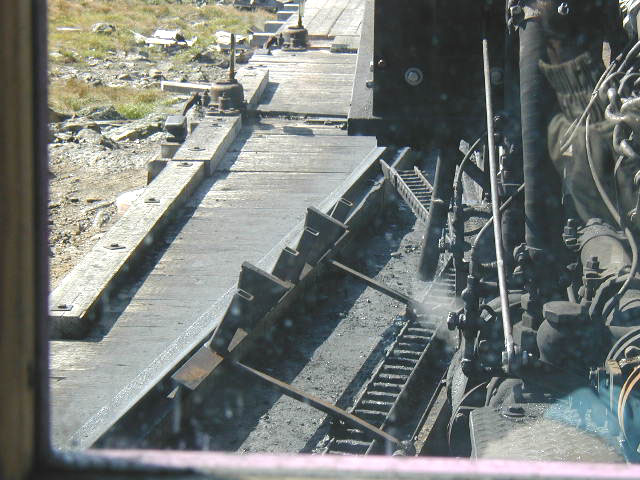
Note the many parts to the switch. There are nine parts that must be set manually.
Click on picture to return to description.

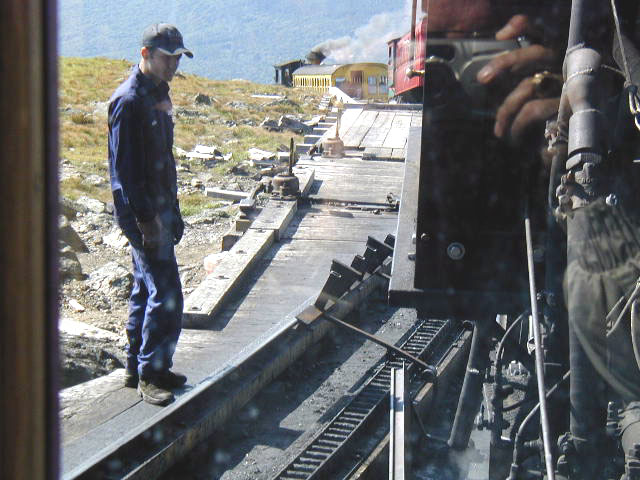
A Mount Washington Cog Railway brakeman setting the switch.
Click on picture to return to description.
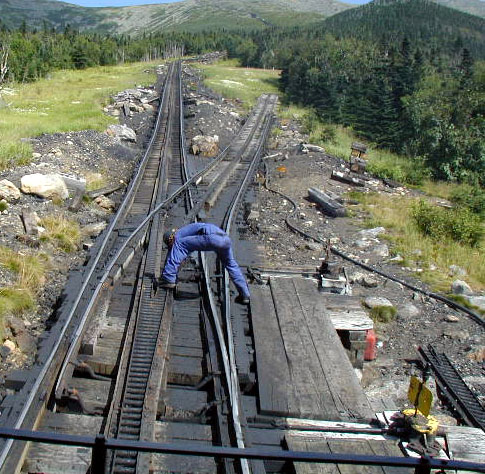
A Mount Washington Cog Railway brakeman setting the switch.
Click on picture to return to description.
A Mount Washington Cog Railway brakeman setting the switch.
Click on picture to return to description.
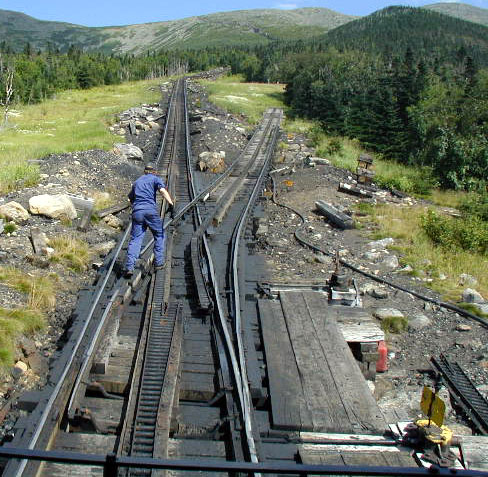
A Mount Washington Cog Railway brakeman setting the switch.
Click on picture to return to description.
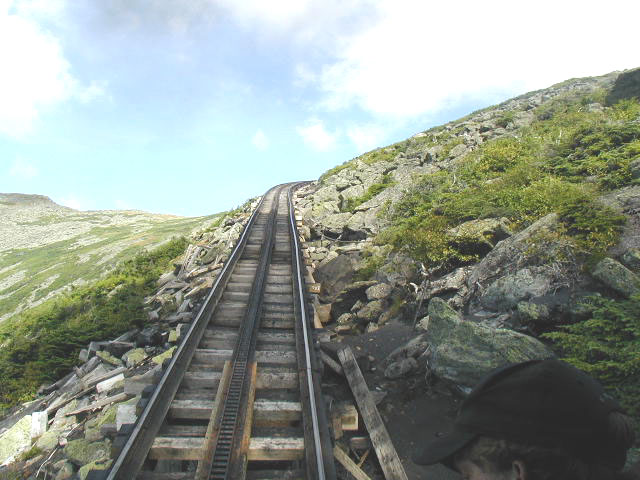
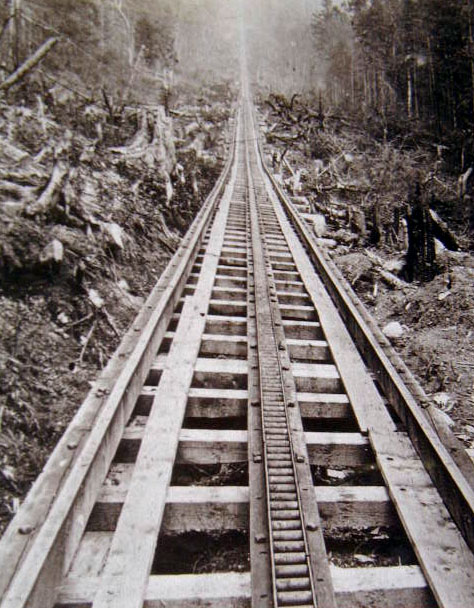
The track about to round a curve. Note the cog track in the middle.
Click on picture to return to description.
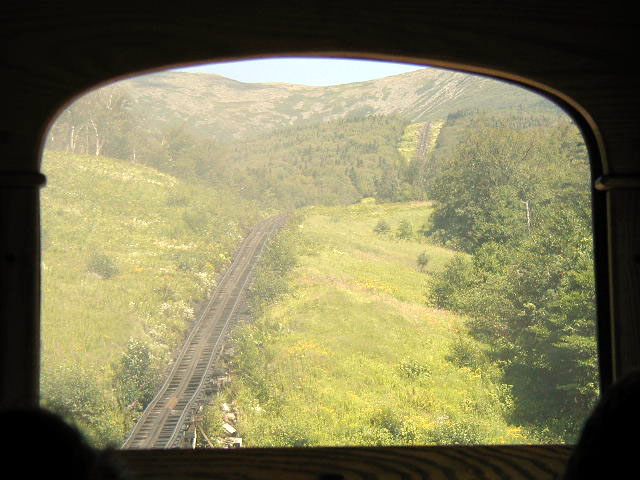
A view of the track from through the end window of the passenger coach.
Click on picture to return to description.
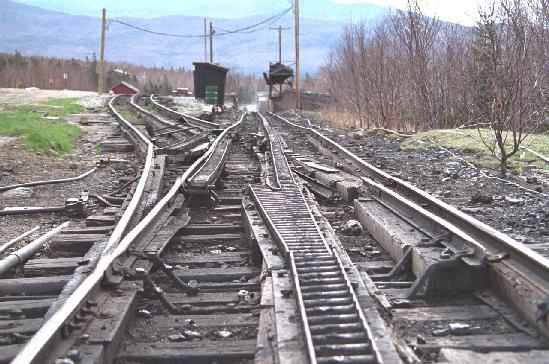
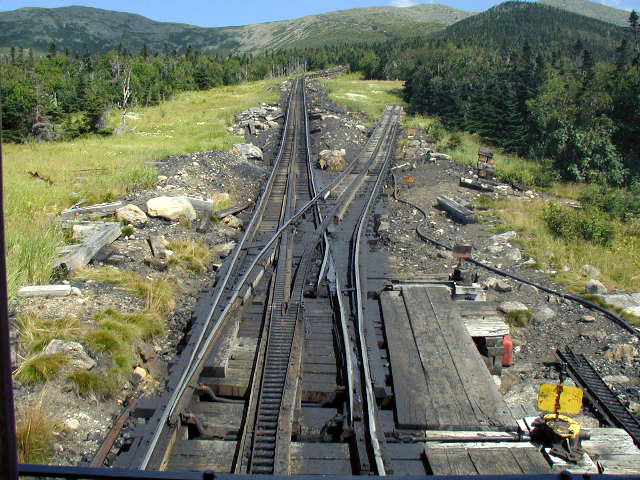
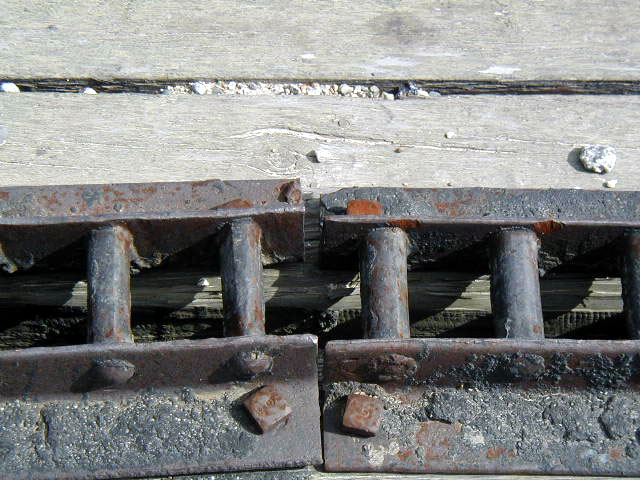
A really complicated switch.
Click on picture to return to description.
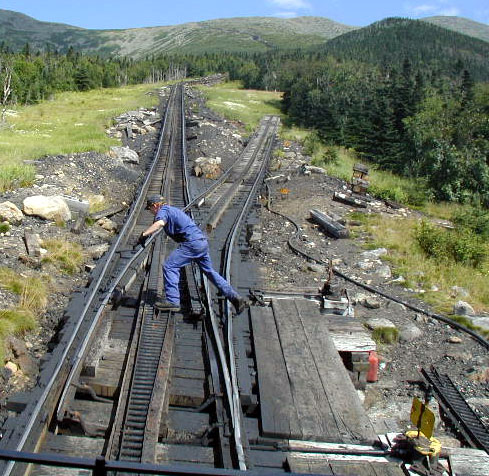
Setting the switch on the way down.
Click on picture to return to description.
The switch is far more complicated than an ordinary track switch.
Click on picture to return to description.
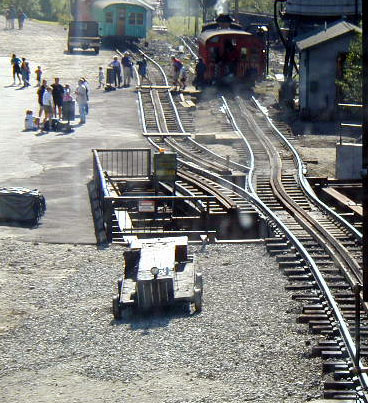
The switch at the base station is mechanized but note its complexity.
Click on picture to return to description.

The mechanized switch at the base station.
Click on picture to return to description.
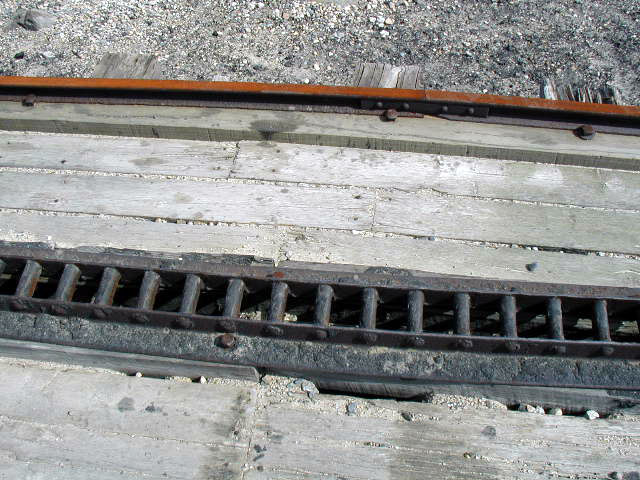
The center cog rack.
Click on picture to return to description.
The center cog rack.
Click on picture to return to description.
The center cog rack.
Click on picture to return to description.
The center cog rack.
Click on picture to return to description.

The track near the summit.
Click on picture to return to description.
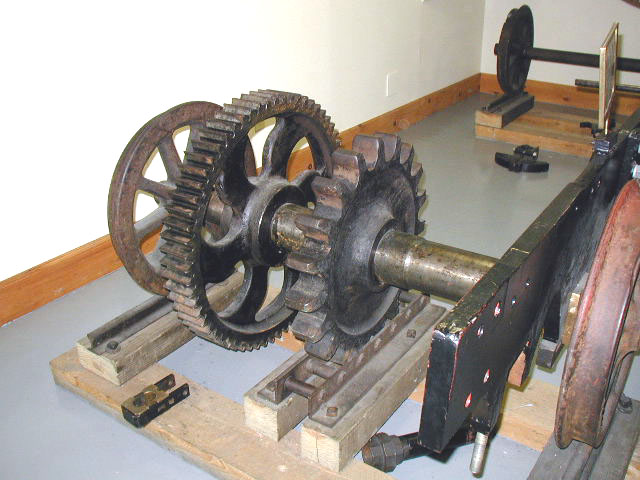
The cog engine gear system. The large gear is the cog gear and the smaller gear, the spur gear, is driven by the pistons of the engine.
Click on picture to return to description.
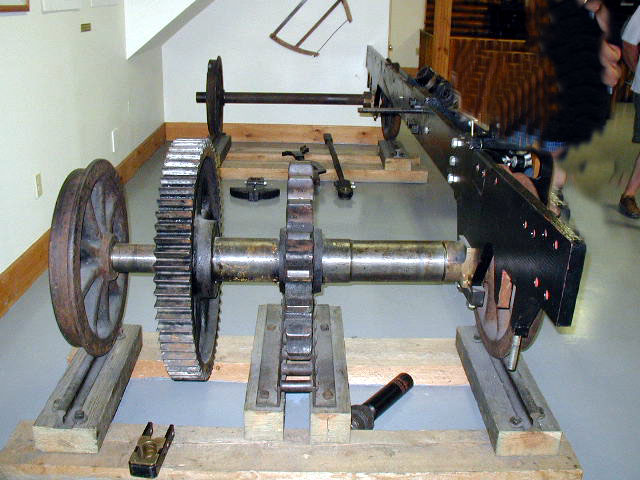
The drive mechanism for the cog engine.
Click on picture to return to description.